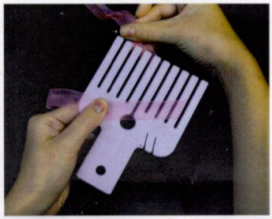
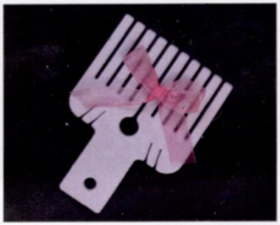
Step 1
Place your ribbon through one of the bottom slots by the
handle to secure the ribbon in place using your fingers to hold it firmly. Then thread the ribbon through your preferred
top slot. Note: the further the slot from the center, the
larger your bow will be.
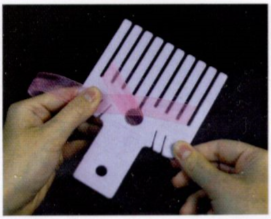
Step 2
Thread the ribbon through the corresponding slot on the opposite side of the Bow Maker and push through the center hole.
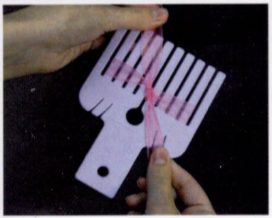
Step 3
Pull the back piece of ribbon up and through the center slot, release the ribbon from the bottom slot and tie together to form the knot.
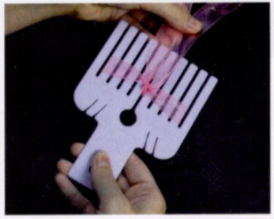
Step 4
Pull the tails upwards and slide the ribbon off the Bow Maker.
Step 5
Your bow is now ready to decorate your project.
Visit our Bow Maker Section: http://www.simplyspecialcrafts.com/bow-makers-ribb...